
A textured product model already contains something a video prompt has to guess: the product. Its proportions, seams and materials are there before the first camera move.
Use that certainty. Build the commercial around views of the same object, then spend your attention on lighting, framing and pacing. For this example, we turned a textured armchair model into a 20-second product film: wood detail, upholstery detail, a wider reveal and a quiet final composition.
Description / transcript
The film begins close to the wooden arm, moves across the dark upholstery, reveals the whole chair and finishes on the words A place to pause.
Start with the actual model
We used Modern Arm Chair 01 by Vibrant Nordic, available from Poly Haven under CC0. Its oak frame, dark upholstery and existing wear detail give the camera something to discover. The film is an independent study, not an advertisement for a furniture brand.
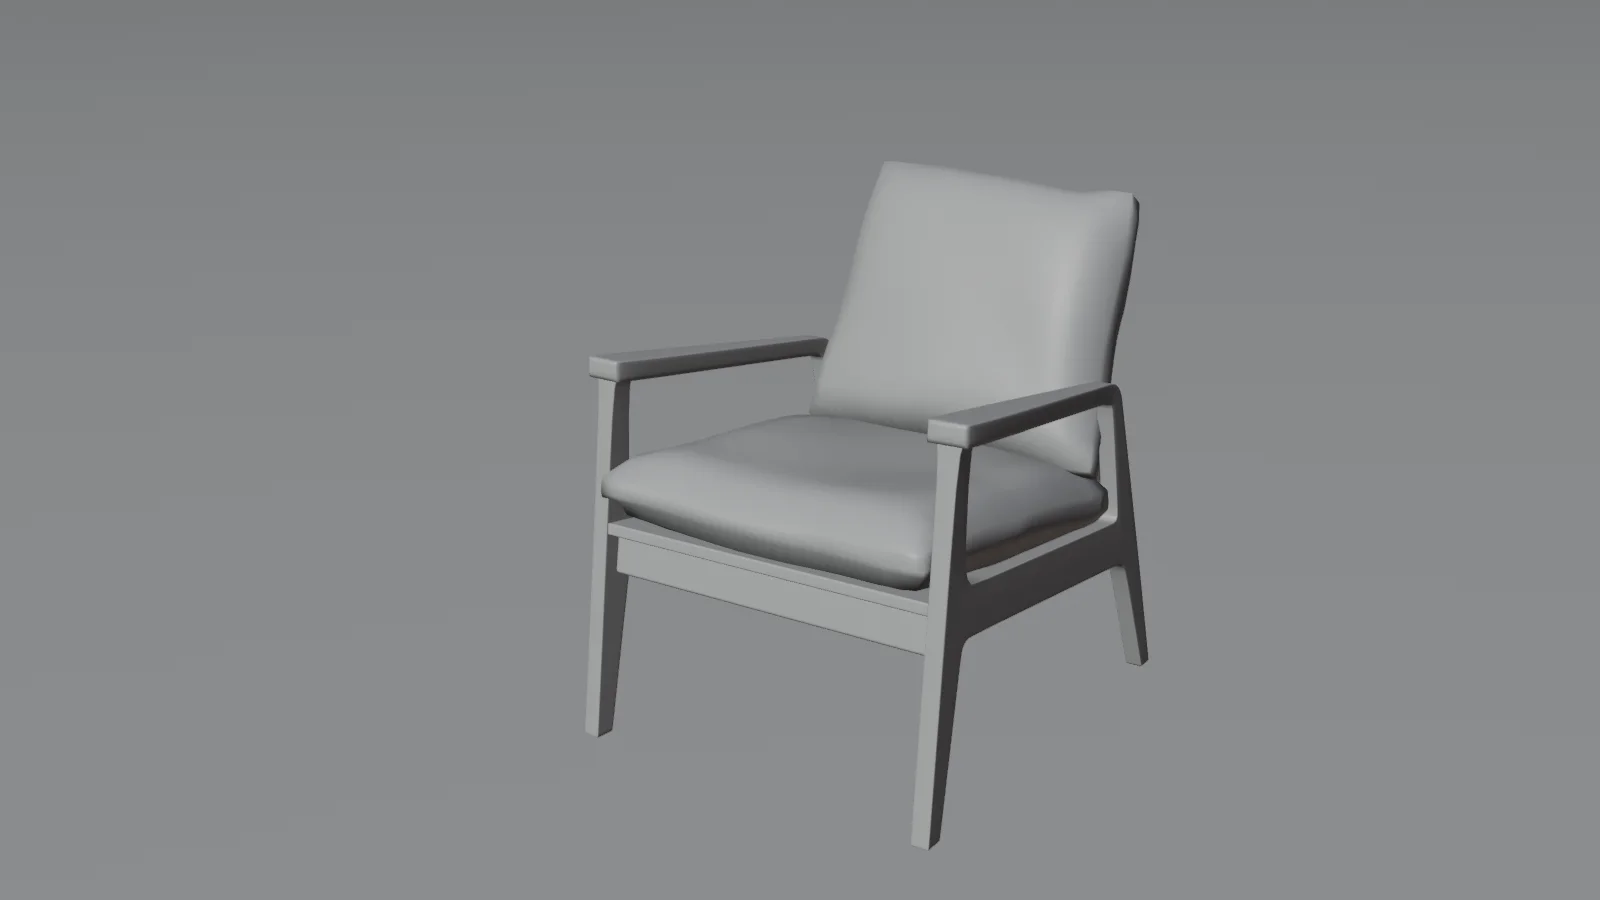
Open a Voyager project and attach the model with its textures. A .blend file is convenient when the materials are already set up. For another format, ask Voyager to import it into Blender and preserve the original file.
Inspect this product model before making a film. Identify the mesh,
materials, dimensions and missing external textures. Preserve its
geometry and proportions. Show a neutral preview with the whole
object visible, including every foot.

Tell me which details are suitable for close shots. Do not invent
logos, specifications or product benefits.
Check textures at this stage. A missing wood image is a broken input, not a lighting problem. We relinked the supplied 2K maps and packed them into the final Blender file so the scene can move between machines without losing its materials.
Give each camera a job
A turntable is useful for inspection. A commercial needs an order in which to reveal the object.
Our four shots are deliberately different:
- Wood detail, 4 seconds: introduce the arm and its connection to the frame.
- Upholstery detail, 4 seconds: show the cushion surface and seam.
- Whole-chair reveal, 6 seconds: let the viewer understand the proportions.
- Final hero, 6 seconds: leave room for a short message and a readable ending.
The camera moves are small. The cuts change the scale. That gives the film variety without making a stationary piece of furniture feel as if it is on a fairground ride.
Make a 20-second product film from this chair model in Blender.
Use four shots: 4 seconds on the wooden arm, 4 on the upholstery,
6 revealing the complete chair, and 6 for a final hero view.

Keep the chair stationary. Animate real cameras with restrained
moves. Use a warm studio floor, a broad warm key, a cooler fill
and a soft ground shadow. Preserve the texture maps. Leave clear
space for a short final headline. Render previews before the film.
Light the materials, then check the framing
Our first lighting pass made the dark upholstery look pale and flattened the wood. We reduced the broad illumination, deepened the upholstery's base color while retaining its texture, and separated the warm key from the cooler fill. The grain and cushion creases remain part of the source model.
A good material change should survive the wider shot. A dramatic close-up is less useful if the final chair becomes a dark silhouette or a washed-out gray shape.
We also widened the final camera after a preview put a front foot too close to the bottom edge. Review the beginning and end of a camera move; a safe middle frame does not guarantee a safe ending.
The upholstery looks too washed out. Keep its normal and roughness
maps, deepen the base-color texture rather than replacing it, and
preserve detail in the highlights. Keep the wood warm without
clipping the bright grain.

In the hero shot, leave breathing room beneath every foot through
the entire move. Keep the floor shadow soft and attached to the chair.
Voyager's Blender preview command renders a saved scene at a chosen camera and frame without changing the scene file. That makes specific checks easy to repeat:
Preview the hero camera at the first and last frames of its shot.
Compare the feet, top of the cushion and space reserved for text.
Fix the camera if either end crops the product.
Compare a colorway without changing the product
Once the cameras and light work, keep them fixed. Change one material and render the same frame. That gives you a useful comparison for a product page, a pitch or an internal design review.
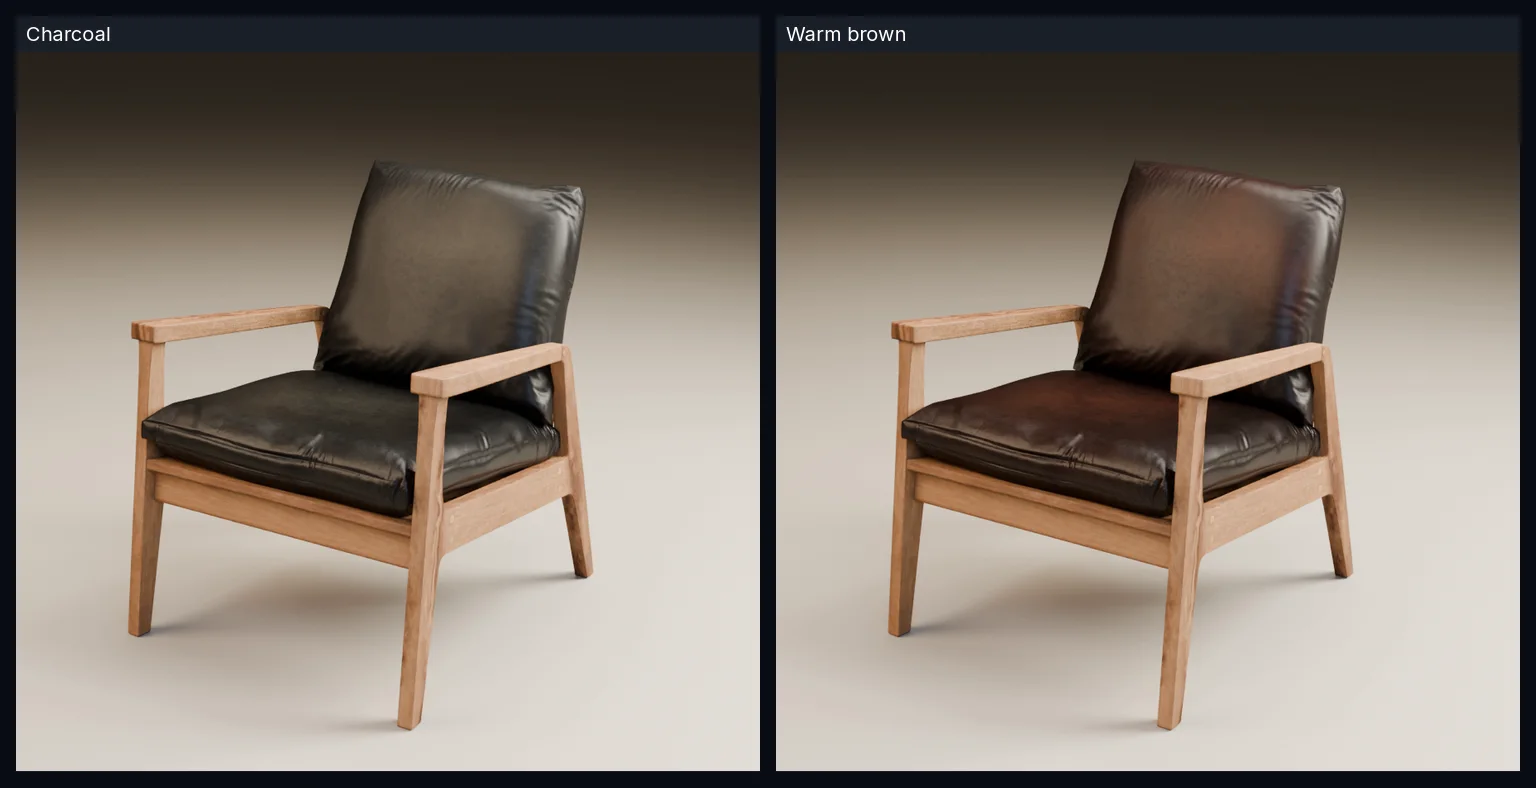
Save a separate colorway of this scene. Change only the upholstery
to a warm brown color. Preserve the wood, geometry, texture detail,
roughness, lights, camera and frame. Render the same hero frame in
both versions so I can compare them directly. Keep the original scene.
We changed the tint node in the upholstery material and rendered the same hero frame. Its normal and roughness maps stayed connected. The seams, creases, wood, shadows and camera position remain the same, so the comparison is about the material rather than two different pictures.
This is where retaining the 3D scene pays off. You can change a material or camera and render the actual model again. A generated interpretation may be useful for a looser concept, but it adds another result to inspect for changes in the product itself.
Export the film and keep the scene
Download the editable Blender scene and production files. The bundle includes the model attribution, camera setup, render instructions and finished MP4.
We rendered the pictures in Blender, added the ending typography in the edit and fitted an original instrumental score to the 20-second cut. Keep music on a separate track so the pacing and level can change without rendering the chair again. Voyager's Blender finalizer checks the complete video before removing the individual frame files, which keeps repeated renders from filling the project with images. The source keeps those choices separate, so changing the message does not require rendering the chair again. Blender is installed separately; rendering on a CPU can take considerably longer than on a supported GPU.
For your own product, start with one trustworthy model and four views worth seeing. A good commercial does more than rotate the asset: it directs attention to the details that make the object worth a closer look.
Make your next project in Voyager
Create an account, download Voyager, and start making.